Non Sequitur
Download free 3D digital files, engineered for 3D printing. These are quirky little items, unrelated to our brand focus, but which you might find useful anyway. Interested in physical objects or alterations? Contact us for custom design and fabrication services.
TSDZ2 Heatsink Plate
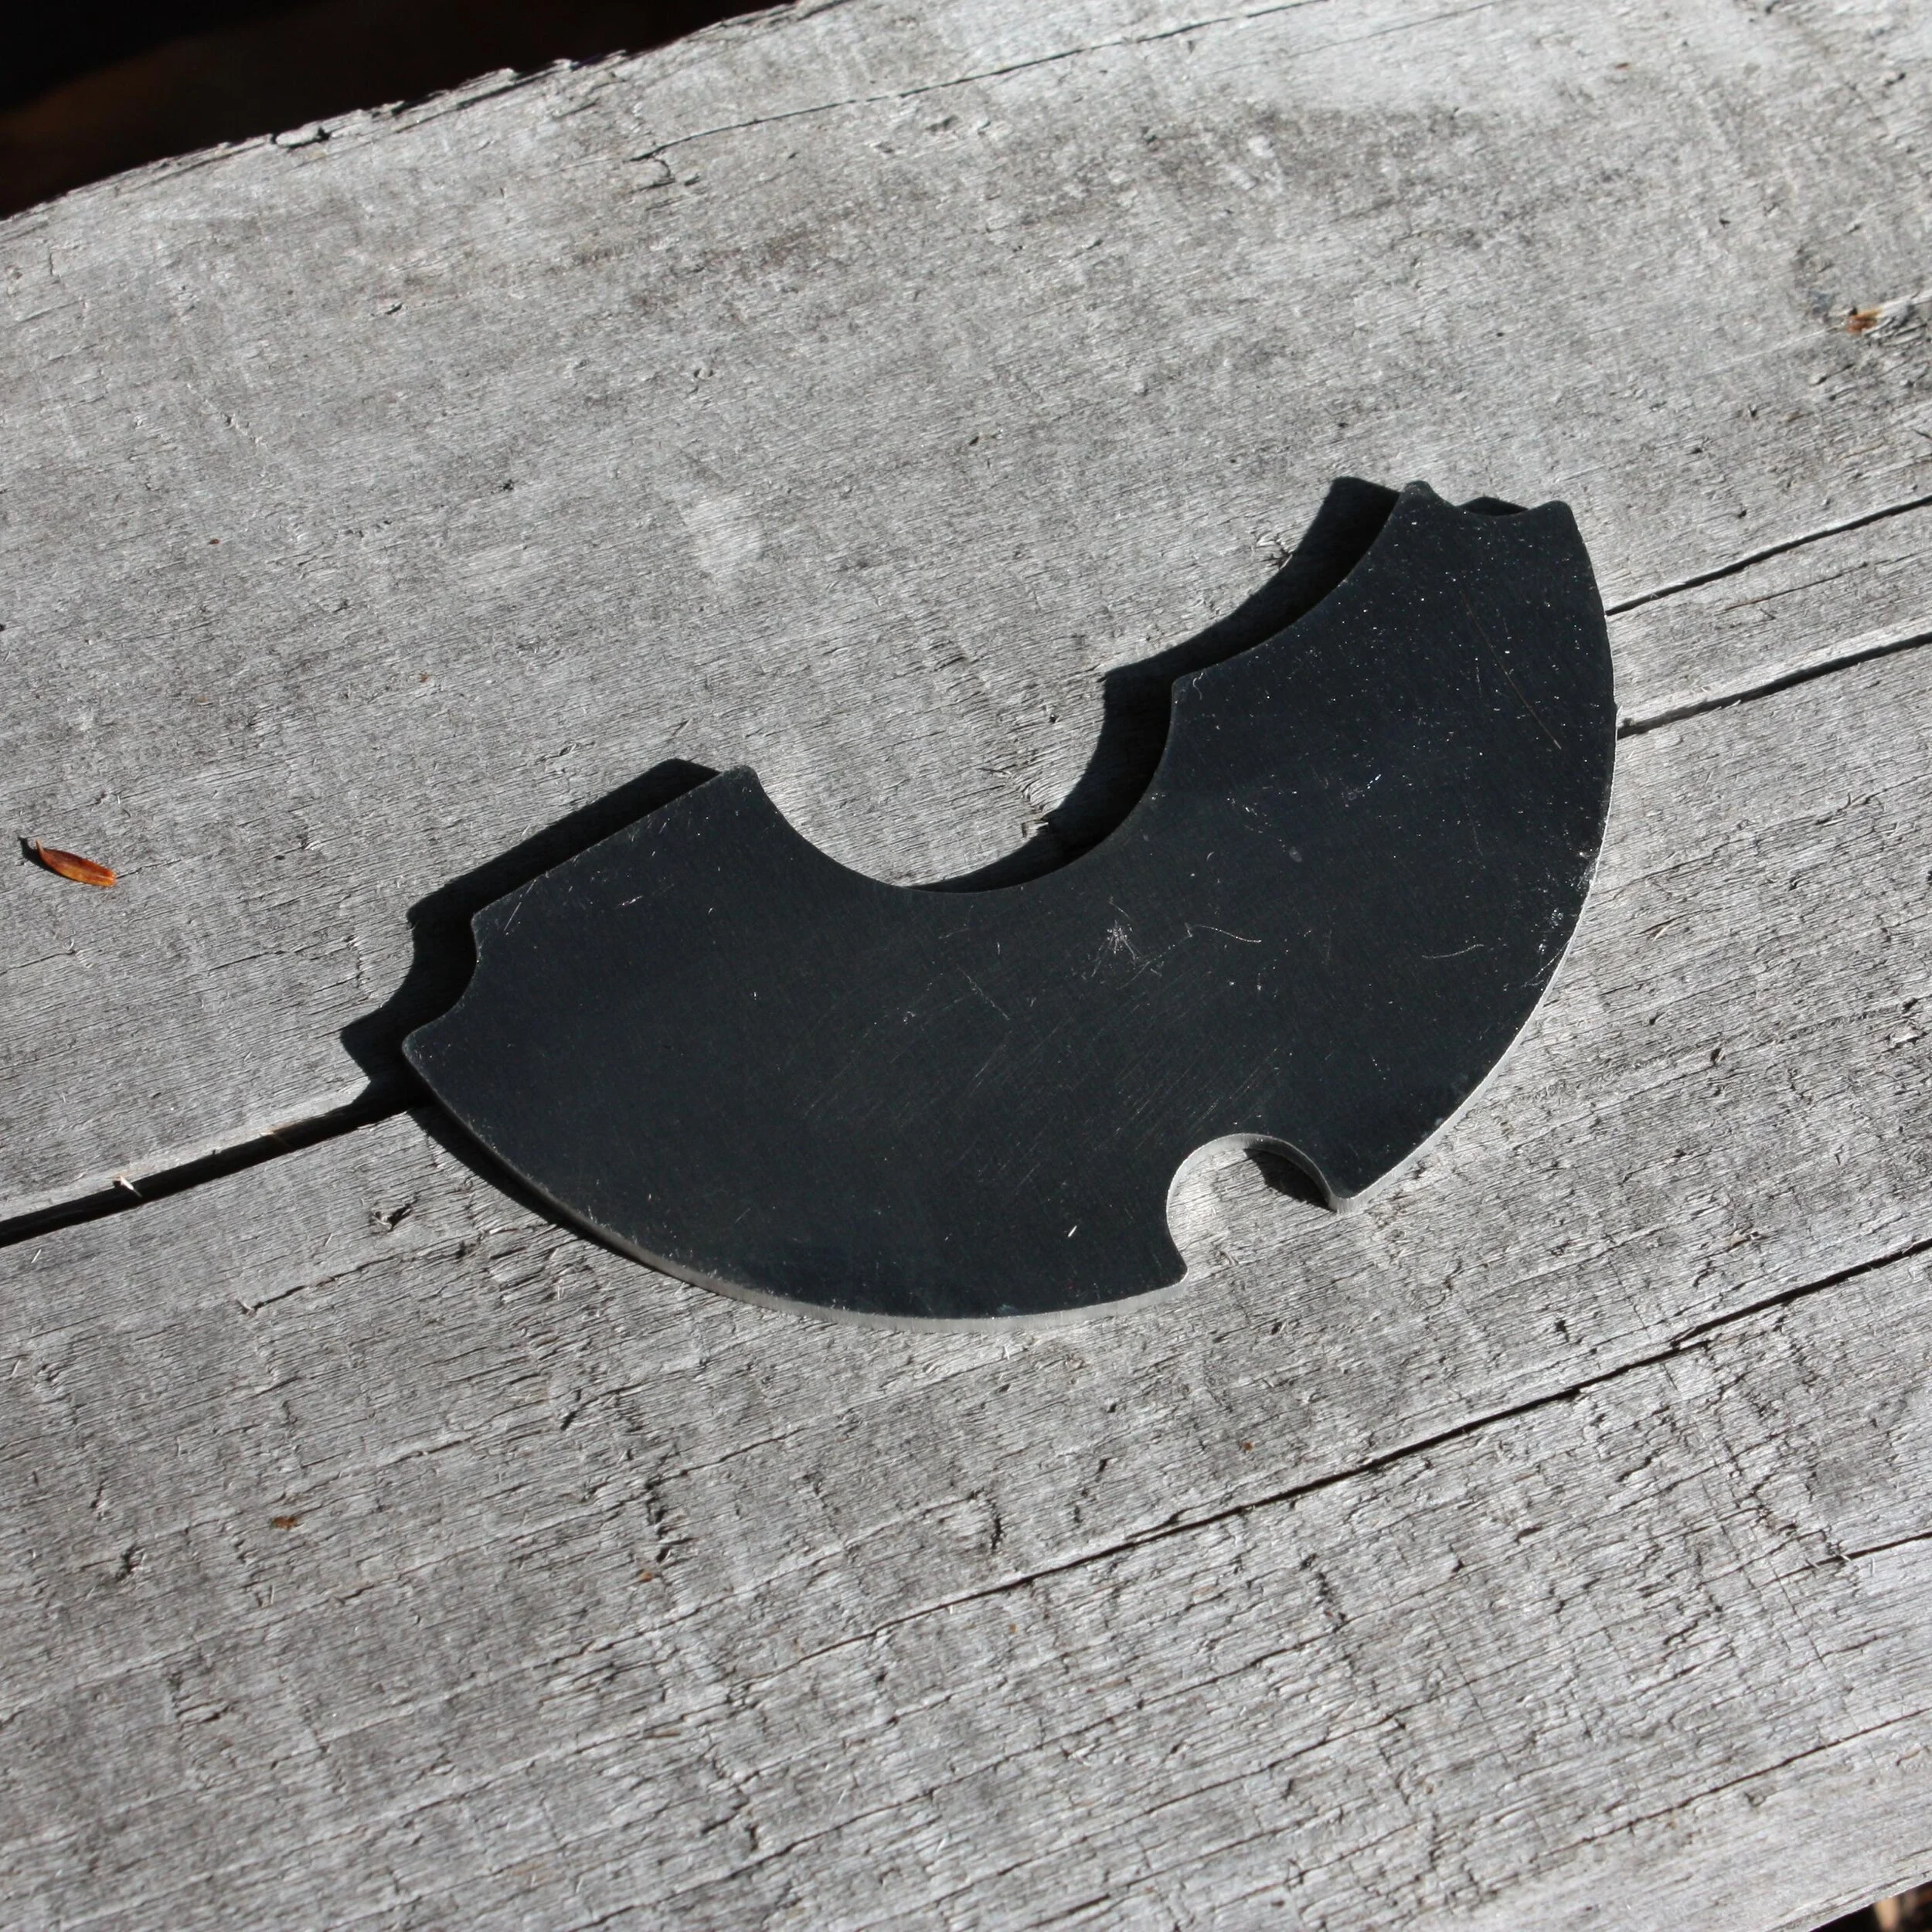


TSDZ2 Heatsink Plate
For all the advantages of the TSDZ2, it has some issues as well. One of the biggest issues is it’s poor motor cooling. Possibly to restrict the continuous rated wattage due to EU regulations, the designers placed the motor in an entirely sealed case, with no contact to the aluminum body. This means, in stock configuration, it is very easy to overheat and damage the motor. 3rd party firmware with thermal throttling, or a thermal probe, can mitigate this to an extent, but at the cost of performance.
Many past attempts have been made to remedy this, the most effective and easiest of which was by najbyk. This filled the approximately 1.5mm gap between the motor and shell with thermal pads. Unfortunately, at that thickness, thermal pads have very poor performance thus gains are limited. Our simple solution to this problem was to use an experimental 2mm aluminum contact plate instead, offering an order of magnitude more thermal conductivity than the thermal pads.
First tests were with a hand cut a shim, which performed wonderfully. From there the logical step was a bespoke designed CNC part for an exact fit to maximize performance. With the original test shim, and the rear thermal pads between motor and outer shell, we were unable to get the temperature above 42 Celsius, even with hard use. We expect the CNC version will perform even better since it is monolithic, but the cold weather makes it difficult to determine the magnitude of the gain over the shim. A test performed at 0c ambient, working the motor continuously at max power, the peak recorded temperature was 32c. (default temperature throttling kicks in around 75-80c) Further experiments will be performed this spring.
Versions:
Version 2 is 1.6mm thick which think is the perfect balance of compressive force for good thermal contact and fitment. Version 2 also has relief cuts for new motors that have radius areas around the motor mounting screws lugs.
Installation is covered step by step in the wiki, and remains essentially unchanged. (of course install the heatsink plate with some thermal compound instead of the thermal pads)
Breakdown
Remove the motor cover (4 screws), then the motor (also 4 screws around the base), disconnecting the phase wires and encoder plug. The motor will probably require a bit of wiggling and pulling to slide out.
Motor Tweaks
As shown in the wiki, take apart the motor (6 screws) and apply some thermal compound between the motor endplates and the stator. (my personal recommendation for thermal compound is MX-4 for it's good performance to cost ratio) Reassemble the motor but be careful not to over tighten the motor bolts.
Check contact points
Check to make sure there are no casting marks on the motor endplate or gearbox case that stick up from the surface and would prevent the heatsink plate from sitting flat, the gearbox housings occasionally has some little ones that should be smoothed out.
Heatsink Plate Install
Apply thermal compound on the gearbox side of the heatsink plate in several small (about grain of rice sized) dabs. Install heatsink plate onto gearbox housing and press down as hard as you can, wiggling slightly. Wipe up any compound that oozes out from the edges. Apply compound to the other side of the plate in the same way and around the motor endplate perimeter (as shown in the wiki) and reinstall the motor.
Motor Reinstall
Tighten the 3 bolts closest to the heatsink plate first, evenly in a circle. Then snug up the 4th bolt. Reconnect the phase wires and encoder plug (little contact cleaner couldn't hurt hear if you've got some). Then just reinstall motor cover and enjoy the cool temps.