PROJECT - Lock Picks (part1)
Silent Thunder Ordnance

Peterson lockpicks, Custom BLF A6 modded to 2200 lumens, Tofty Tritium, Spyderco Lum Tanto Sprint, Tesla lighter, S&W .45ACP, Liberty Civil Defense
We all love our EDC items here at STO. Fine cutlery, firearms, lighters, of course flashlights, and.... lock picks. Peterson has long been a source for some of our favorites, but picks wear out with time, then there is always the pesky lock you wish you had something special for, and you can never have enough medium hooks. So why not make your own?
*DISCLAIMER*
Lock picks are not legal everywhere. Check your local laws before making or carrying them.
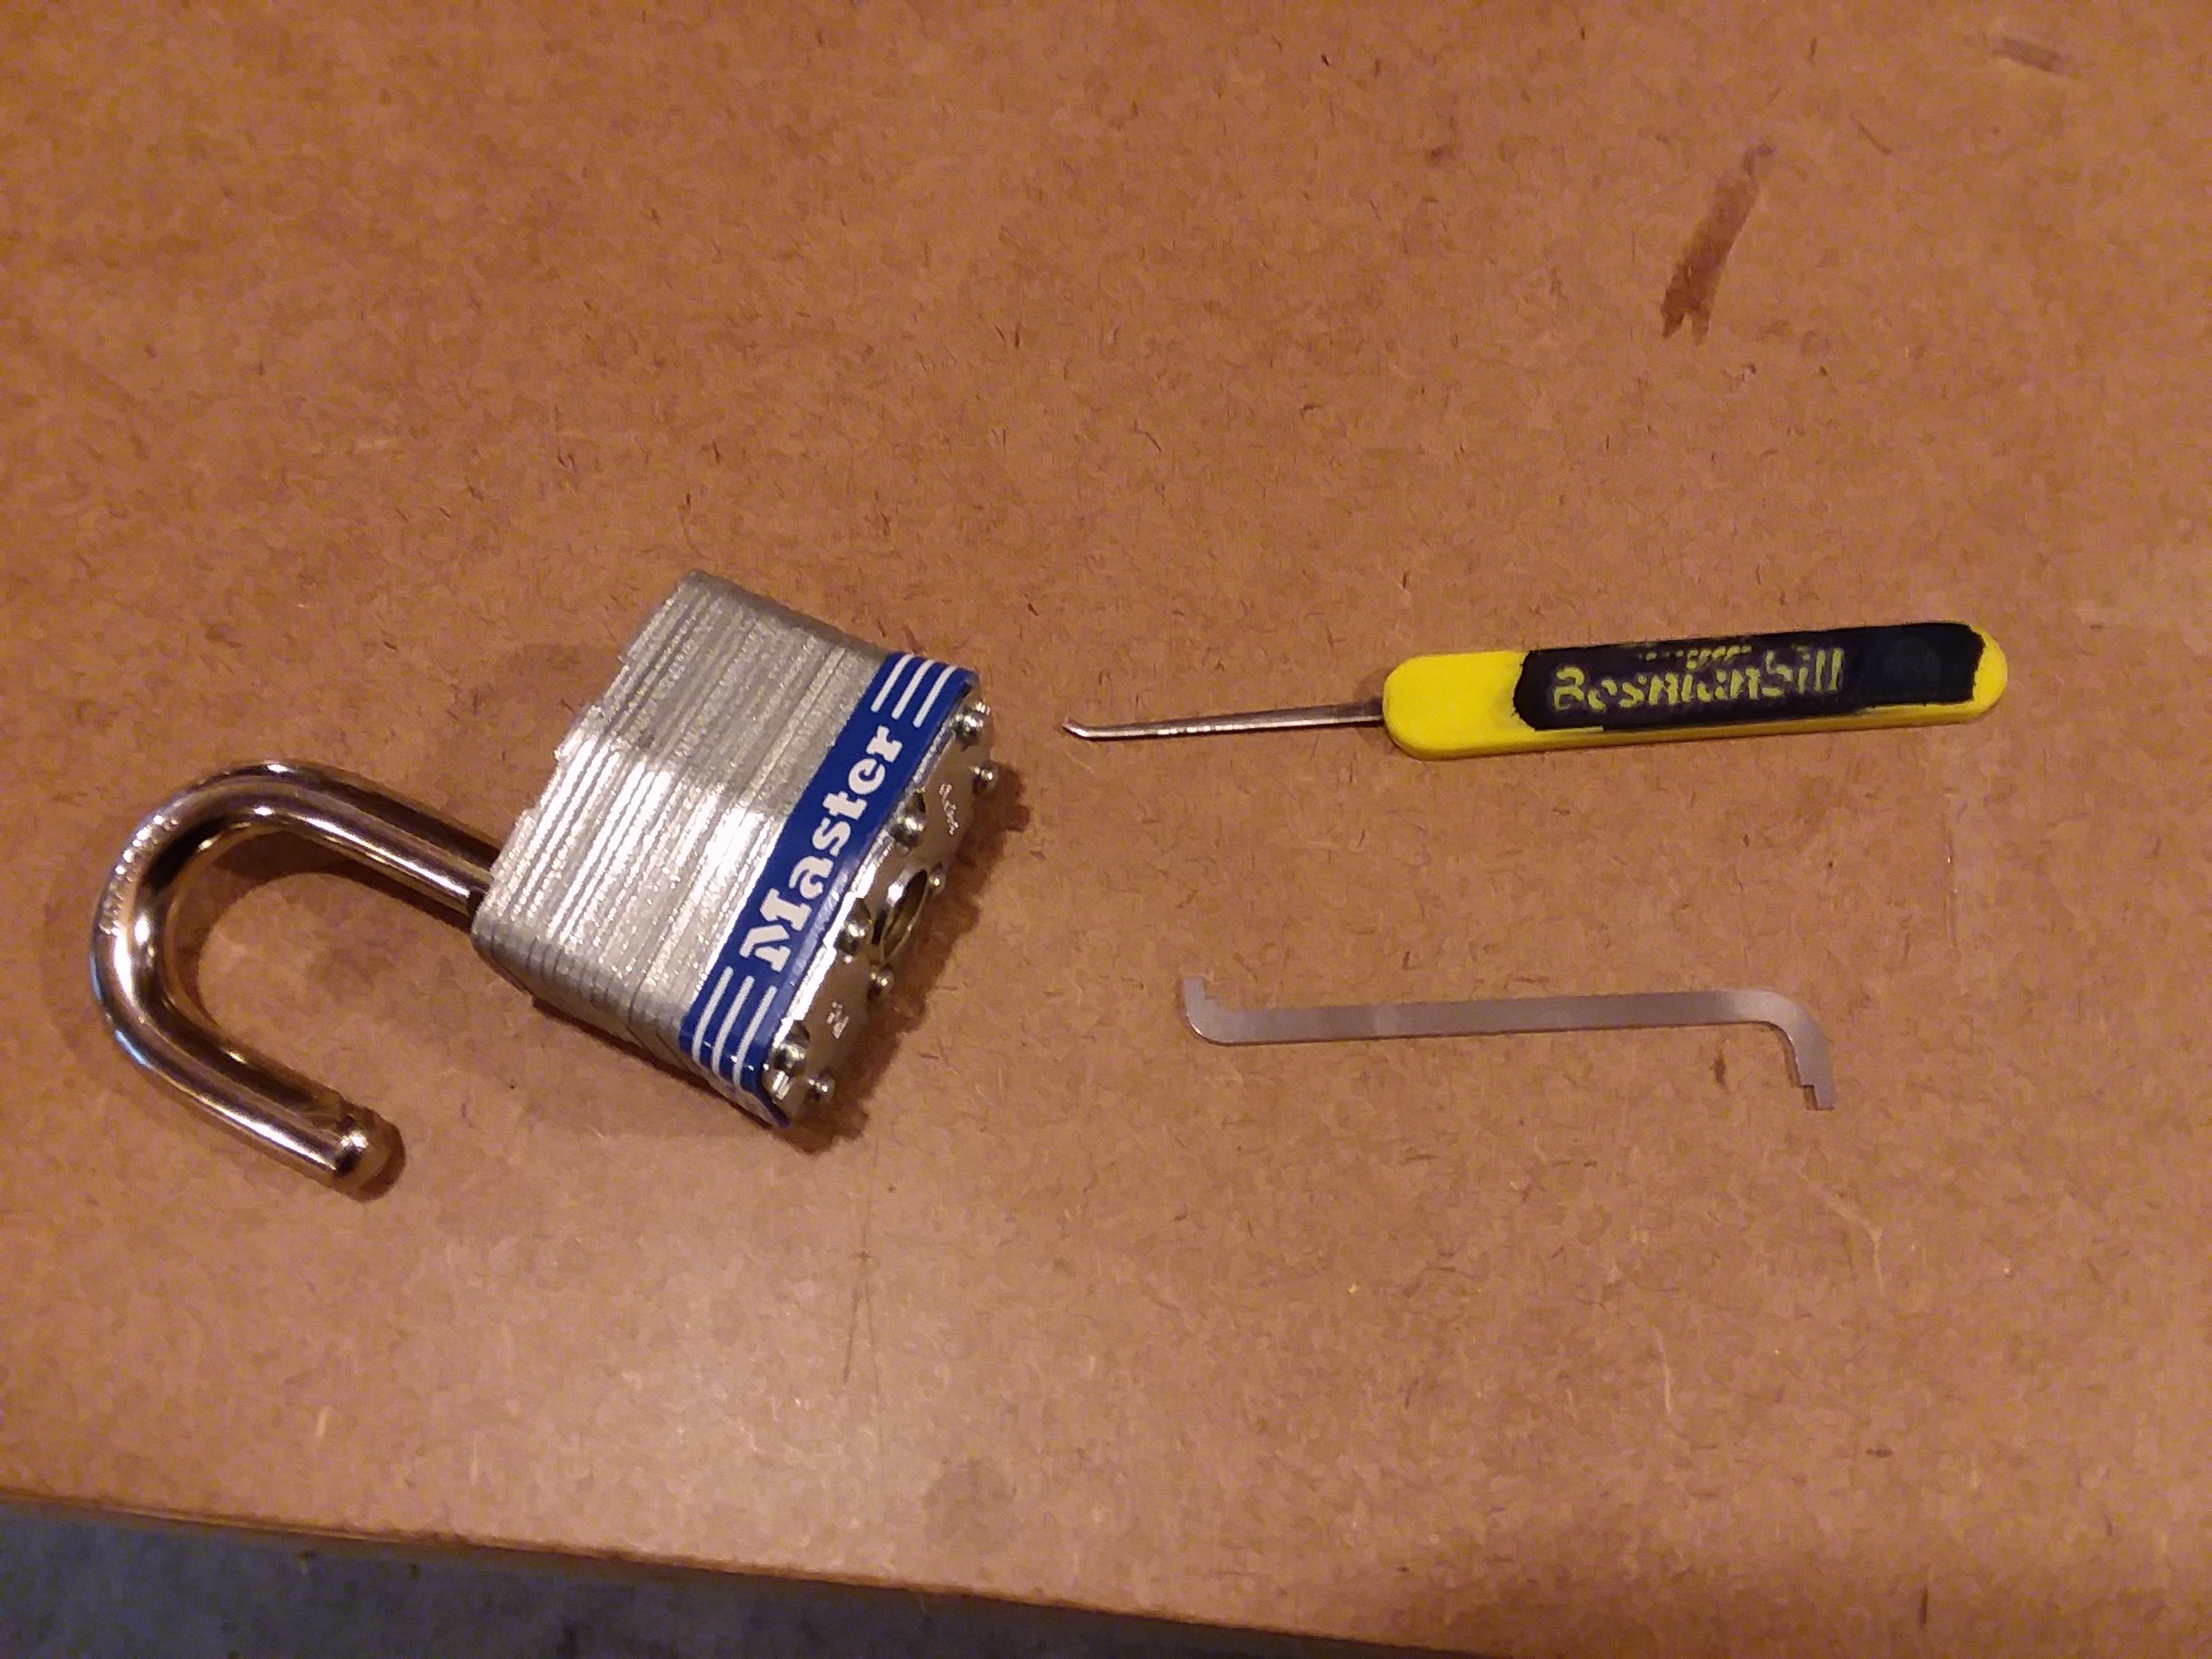
Yeah, okay, it is a Master Lock and will open at a sneeze, but as a quick test the pick works great.
We're all fans of Youtuber Bosnian Bill, and he repeatedly references making your own pick sets from windshield wiper springs. He even has a whole series on making your own picks. Why not? Turns out he actually goes one step further, and has a pick handle design available for free download on Thingiverse.

Wiper springs, handles, Peterson Gem (to copy)
Windshield wiper springs, a few printed handles (makergeeks garbage used for experiments like this), and one of my favorite picks (Peterson Gem in .015) to copy in hand, lets get started.

Layout fluid on the spring steel stock (wiper springs) and a farcical attempt to make the yellow pick handle less hideous.
Step one of anything is planning. Layout fluid (often sold under the brand Dykem Blue) and a carbide pen. You could probably use a sharpie and mechanical pencil to the same effect, but smoke 'em if you got 'em eh? I also threw some marking fluid on the handle. I had an idea with that, but pretty much immediately regretted it.

Marking length to cut
Glue the metal stock into the handle so you have a way to grip it. Pretty much as simple as that. The carbide pen is used, first anyway, to mark where you want to cut. Because we're using an abrasive cutoff wheel here, which is pretty inefficient and makes a lot of heat, I left some extra space to make sure I didn't burn the temper off that critical tip. You could also use a hacksaw if you wanted, and remove any chance of burning the temper.

Tracing an existing pick design to copy
You can never have enough clamps right? With the length cut, and the burned steel ground away, it is time to lay out the actual pick. I used some squeeze clamps to keep things aligned, and then just traced the Peterson Gem onto the spring steel stock.

Grinding the pick's profile
Here you can see the laid out pick shape. You can also see what my bad idea with the marking fluid on the handle was. It did work, making the "Bosnian Bill" logo a lot more visible, but there really is no redeeming this yellow plastic. The critical pat to grinding here is to use a fresh sharp belt. When you're grinding, you'll put a LOT less heat into the work if you're efficiently cutting the metal as opposed to just smearing and rubbing on it. For this reason, you'd do well to avoid bench grinders which function by breaking down as you use them and exposing fresh abrasive. They're slow, inefficient, and generate a LOT of heat. This, by the way, is part of why the professionals pay about four times the price for a dry cut saw rather than just using an abrasive chop saw. When you're grinding, don't forget you're not just grinding the profile, you probably want to grind the thickness as well. This stuff starts north of .025", but finally you have an endless supply of picks as thin as you want. I ground this one down to .020".
Don't have a belt grinder, bench grinder, rotary tool, or any other sort of power grinder, you can always use a set of files. If you don't have any files.... use your teeth or just buy lock picks. This is a build-along, if you can't scrape together the bare minimum of a hacksaw and a half-round file, what were you expecting? ;)
Little trick here: at least on the wiper springs I got, the sides are very nicely rounded and smoothed. So if you can lay the pick out so you only need to grind from the top and front, you'll save yourself time in finishing later as the bottom of the pick will already be pretty smooth and well rounded.

Tedious hand finishing work with sandpaper to get rid of any sharp edges or rough surfaces
Finishing, the most annoying step of every project. We're off the grinder and now need to remove those grind lines. The finer the belt you go to on your grinder, the less hand work you'll have to do here. Sharp belts also won't leave you with big burrs on edges the way dull ones or many bench grinders will. At the end of the day though, there is nothing for it other than elbow grease. Bosnian Bill has a great tip using a book to sand both sides of the pick at the same time. Works great. Detailing the sharp corners and edges though is still tedious, no matter how you slice it, even with a rotary tool. And, of course, you're trying to just round corners and smooth edges without removing the definition of the pick.

Success! First try and the pick works beautifully.
First pick was a success, opened a Master Lock in seconds, but I want to improve the process. Allowing for heat mitigation is slow and fraught, the whole grind-and-dip thing is slow and makes keeping your angles more difficult. I'd rather work faster, and coolant is the obvious solution. So time for a round two.

Improving the process by wet cutting (wet paper towel) to keep things cool.
Same process up to this point, but now we just grind on a wet paper towel. This keeps everything cool, including drawing water up onto the wheel, which is excellent. A much quicker and safer way to cut, and you waste less metal.

And now wet grinding. Add a spritz of water to the belt from time to time as well. Note the little line seen on the paper towel here is from the previous cutoff process.
On the grinder same thing, place a moist paper towel in a block and use a spray bottle to moisten the belt from time to time. The result is faster and safer grinding with less heat. No problem. Having round the first pick so easily, I didn't bother laying out a design on this one and just winged it.

Pick #2 is done, getting better at this. This one I thinned out to a mere .018".
Same finishing process as before.... and then there were two. This one I took down to .018" Thing is, all that detail sanding as part of the finishing process is still irksome to do. What if there were a shortcut?

Pick #3 straight off the belt grinder

Steel tumbling media
Repeat the same process as above, omitting bonding the pick into the handle and most of the finishing work. Instead, post grinding, clean up the pick and toss into steel tumbling media. What you see here is my secret sauce of ballcones, pins, and other assorted bits of polishing media. If your grinder isn't sharp and is "smearing" rather than cutting the steel, you might want to start on a ceramic media before moving to the finer finish steel.

Finished pick post-tumbling
And we're done. Good polish and all the corners have been smoothed out without losing their detail. You still have well defined points and edges, but they're no longer sharp. I feel like I have the pick making process down, but my god this yellow plastic is ugly. Next up, we'll be making prettier handles that you'd actually want to EDC.